How to Set Up PayPal Subscriptions
Step 1: Access your Dominate Checkout account.
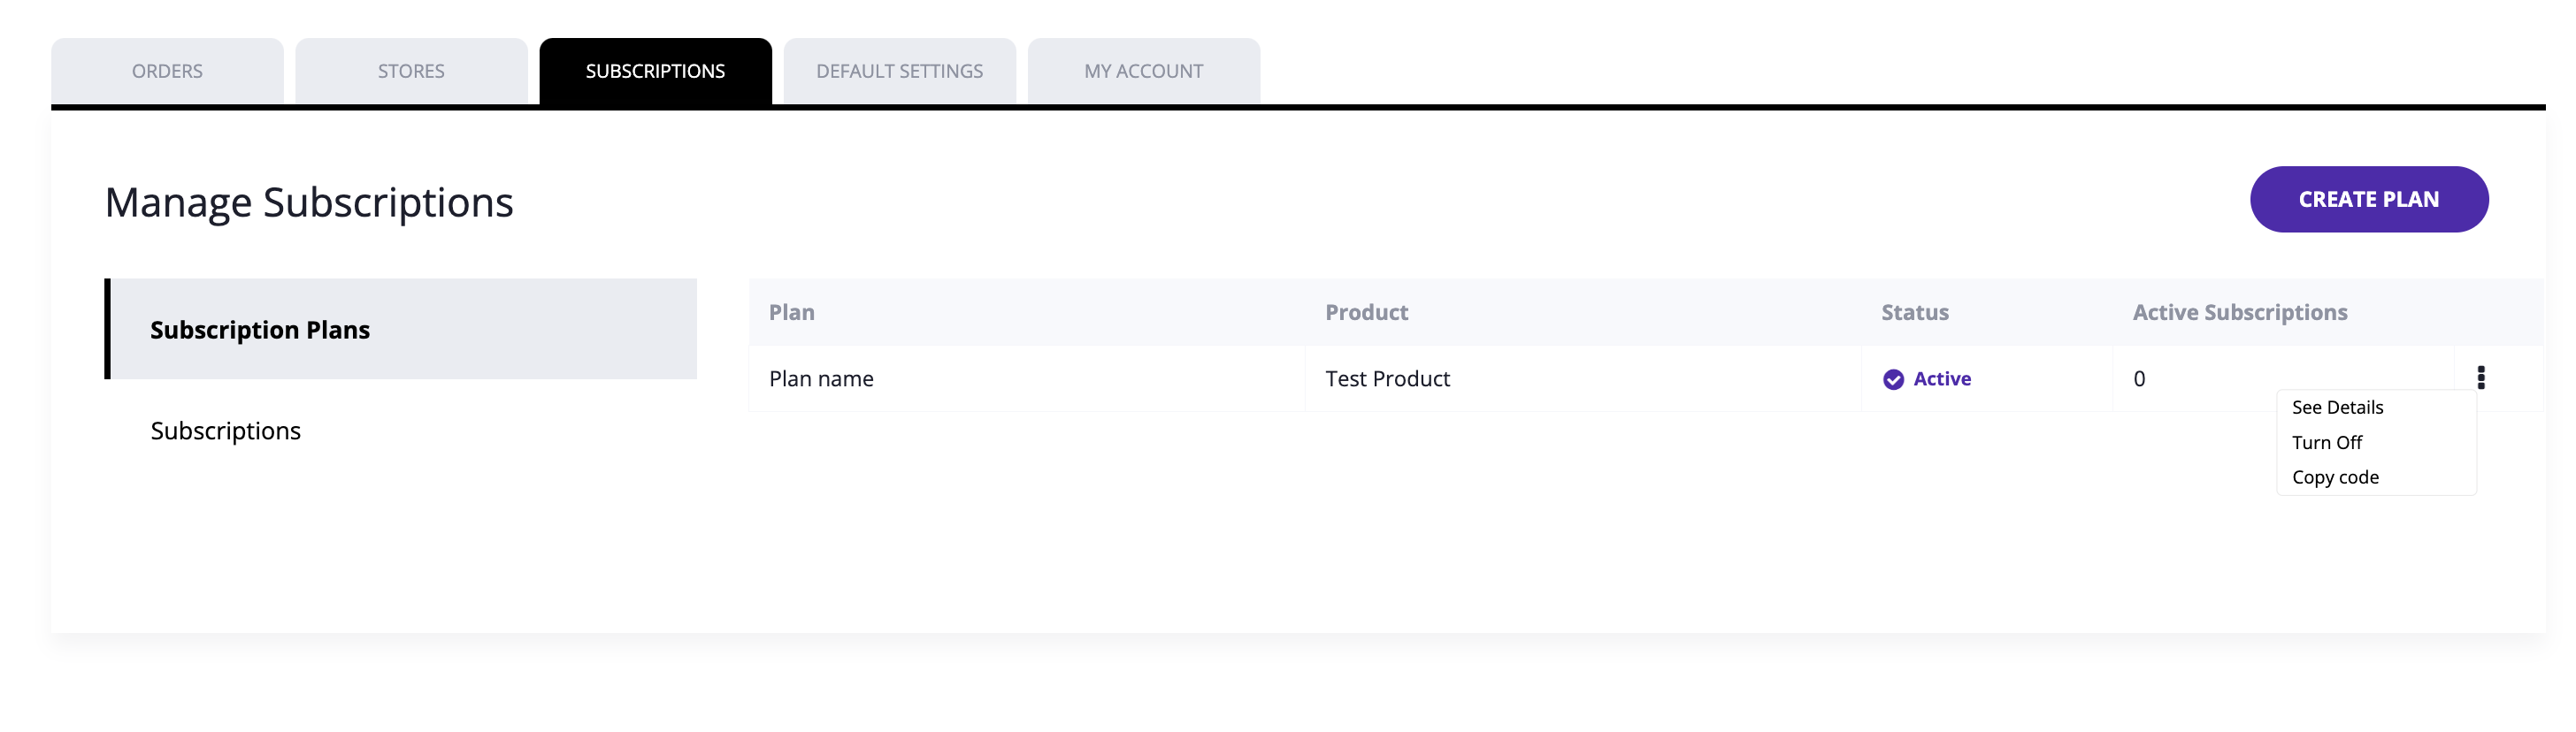
Step 2: Go to Dominate Checkout-> Subscriptions -> Subscriptions Plan

Step 3: Click the Create Plan button
You will then be asked to enter the details of the services and products that are part of the plan.
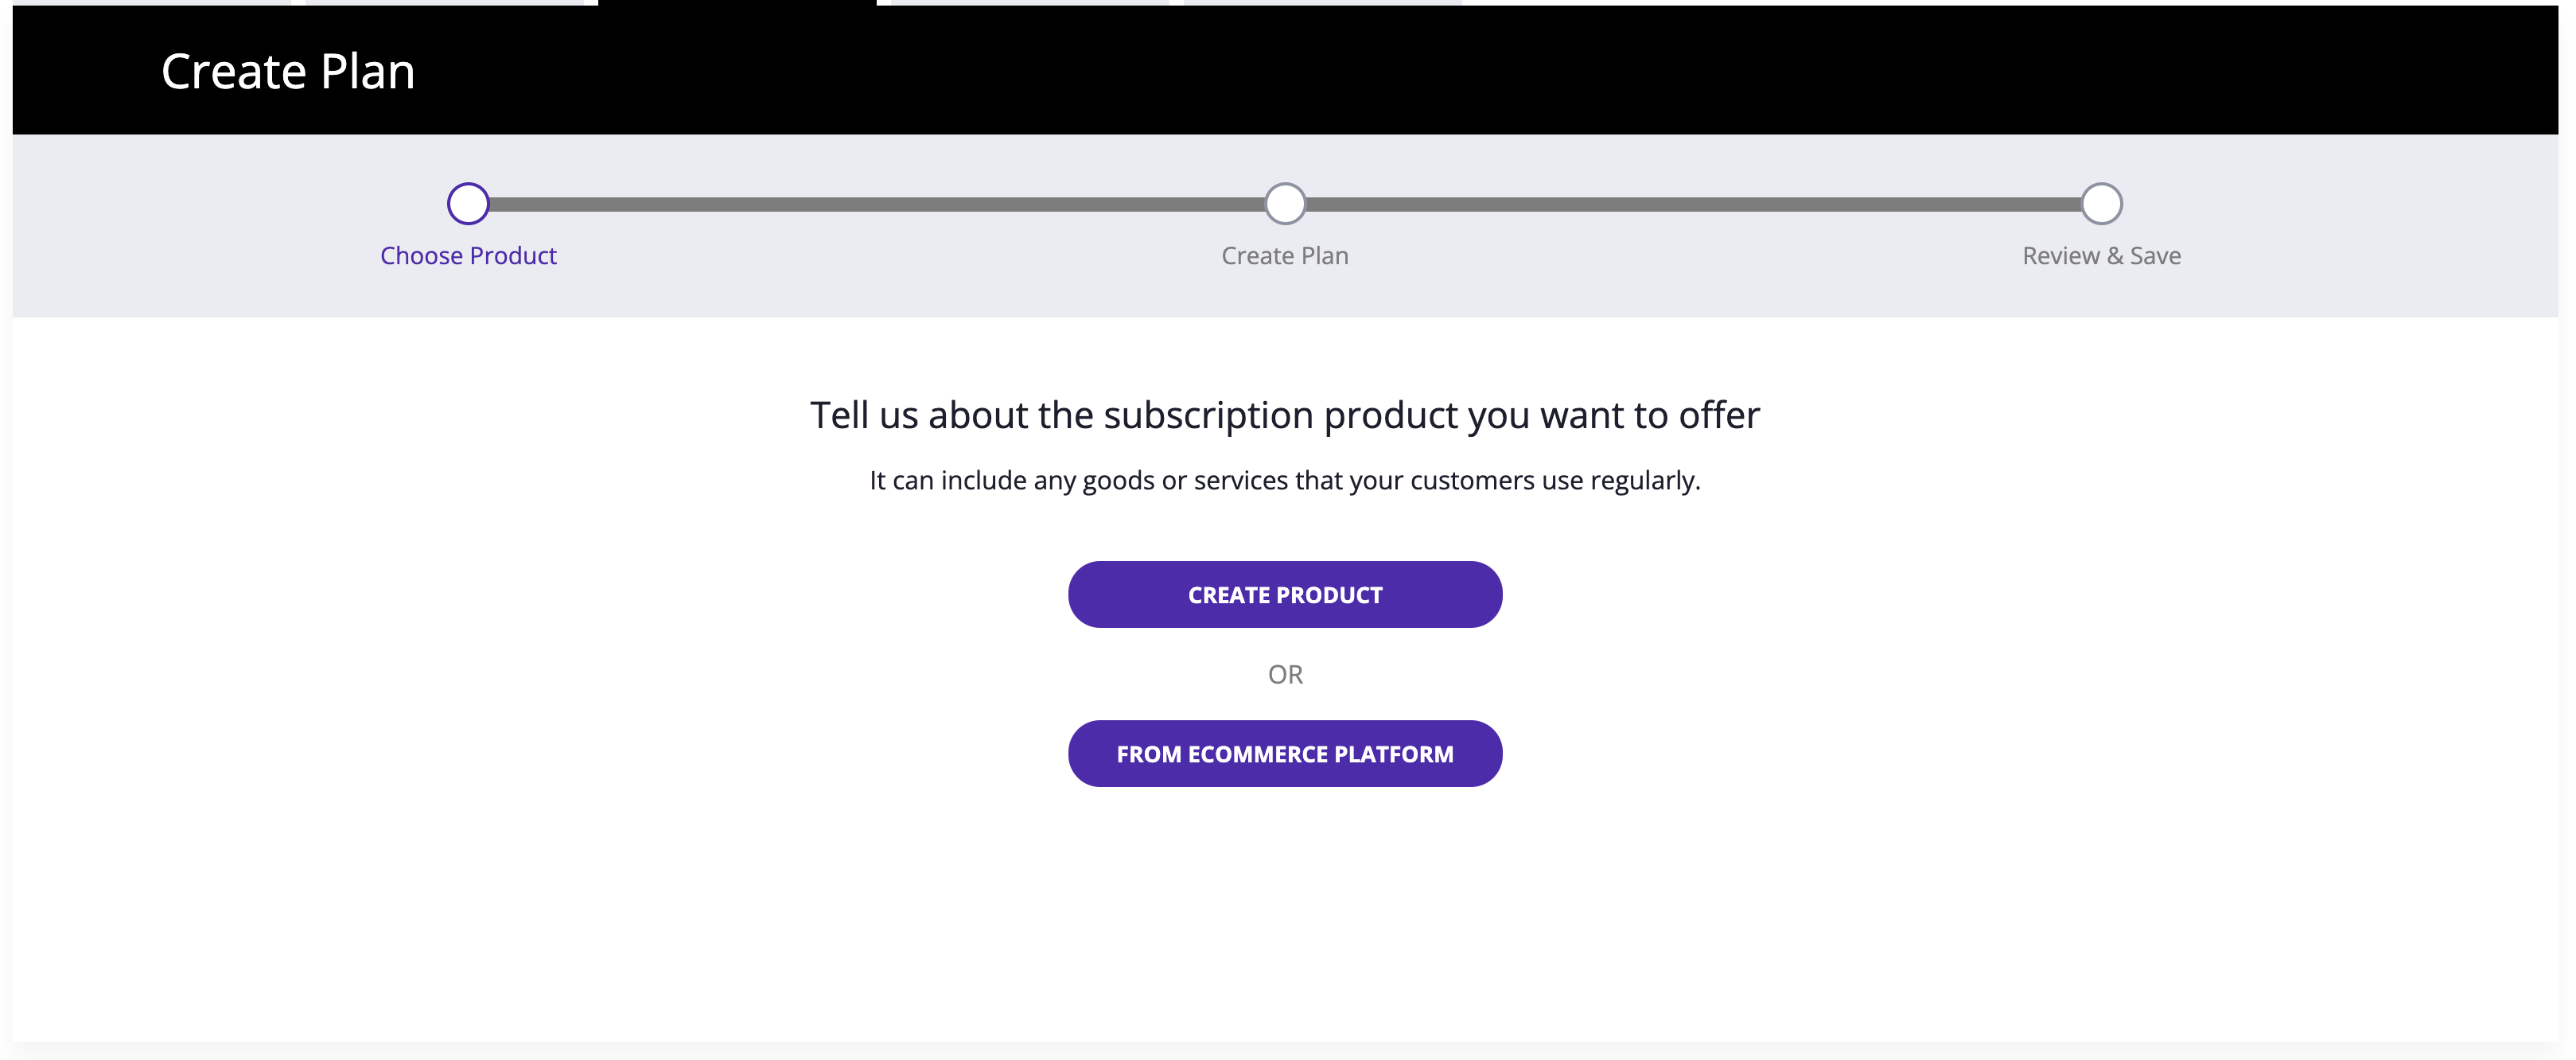
- Click CREATE PRODUCT to create a new subscription product.
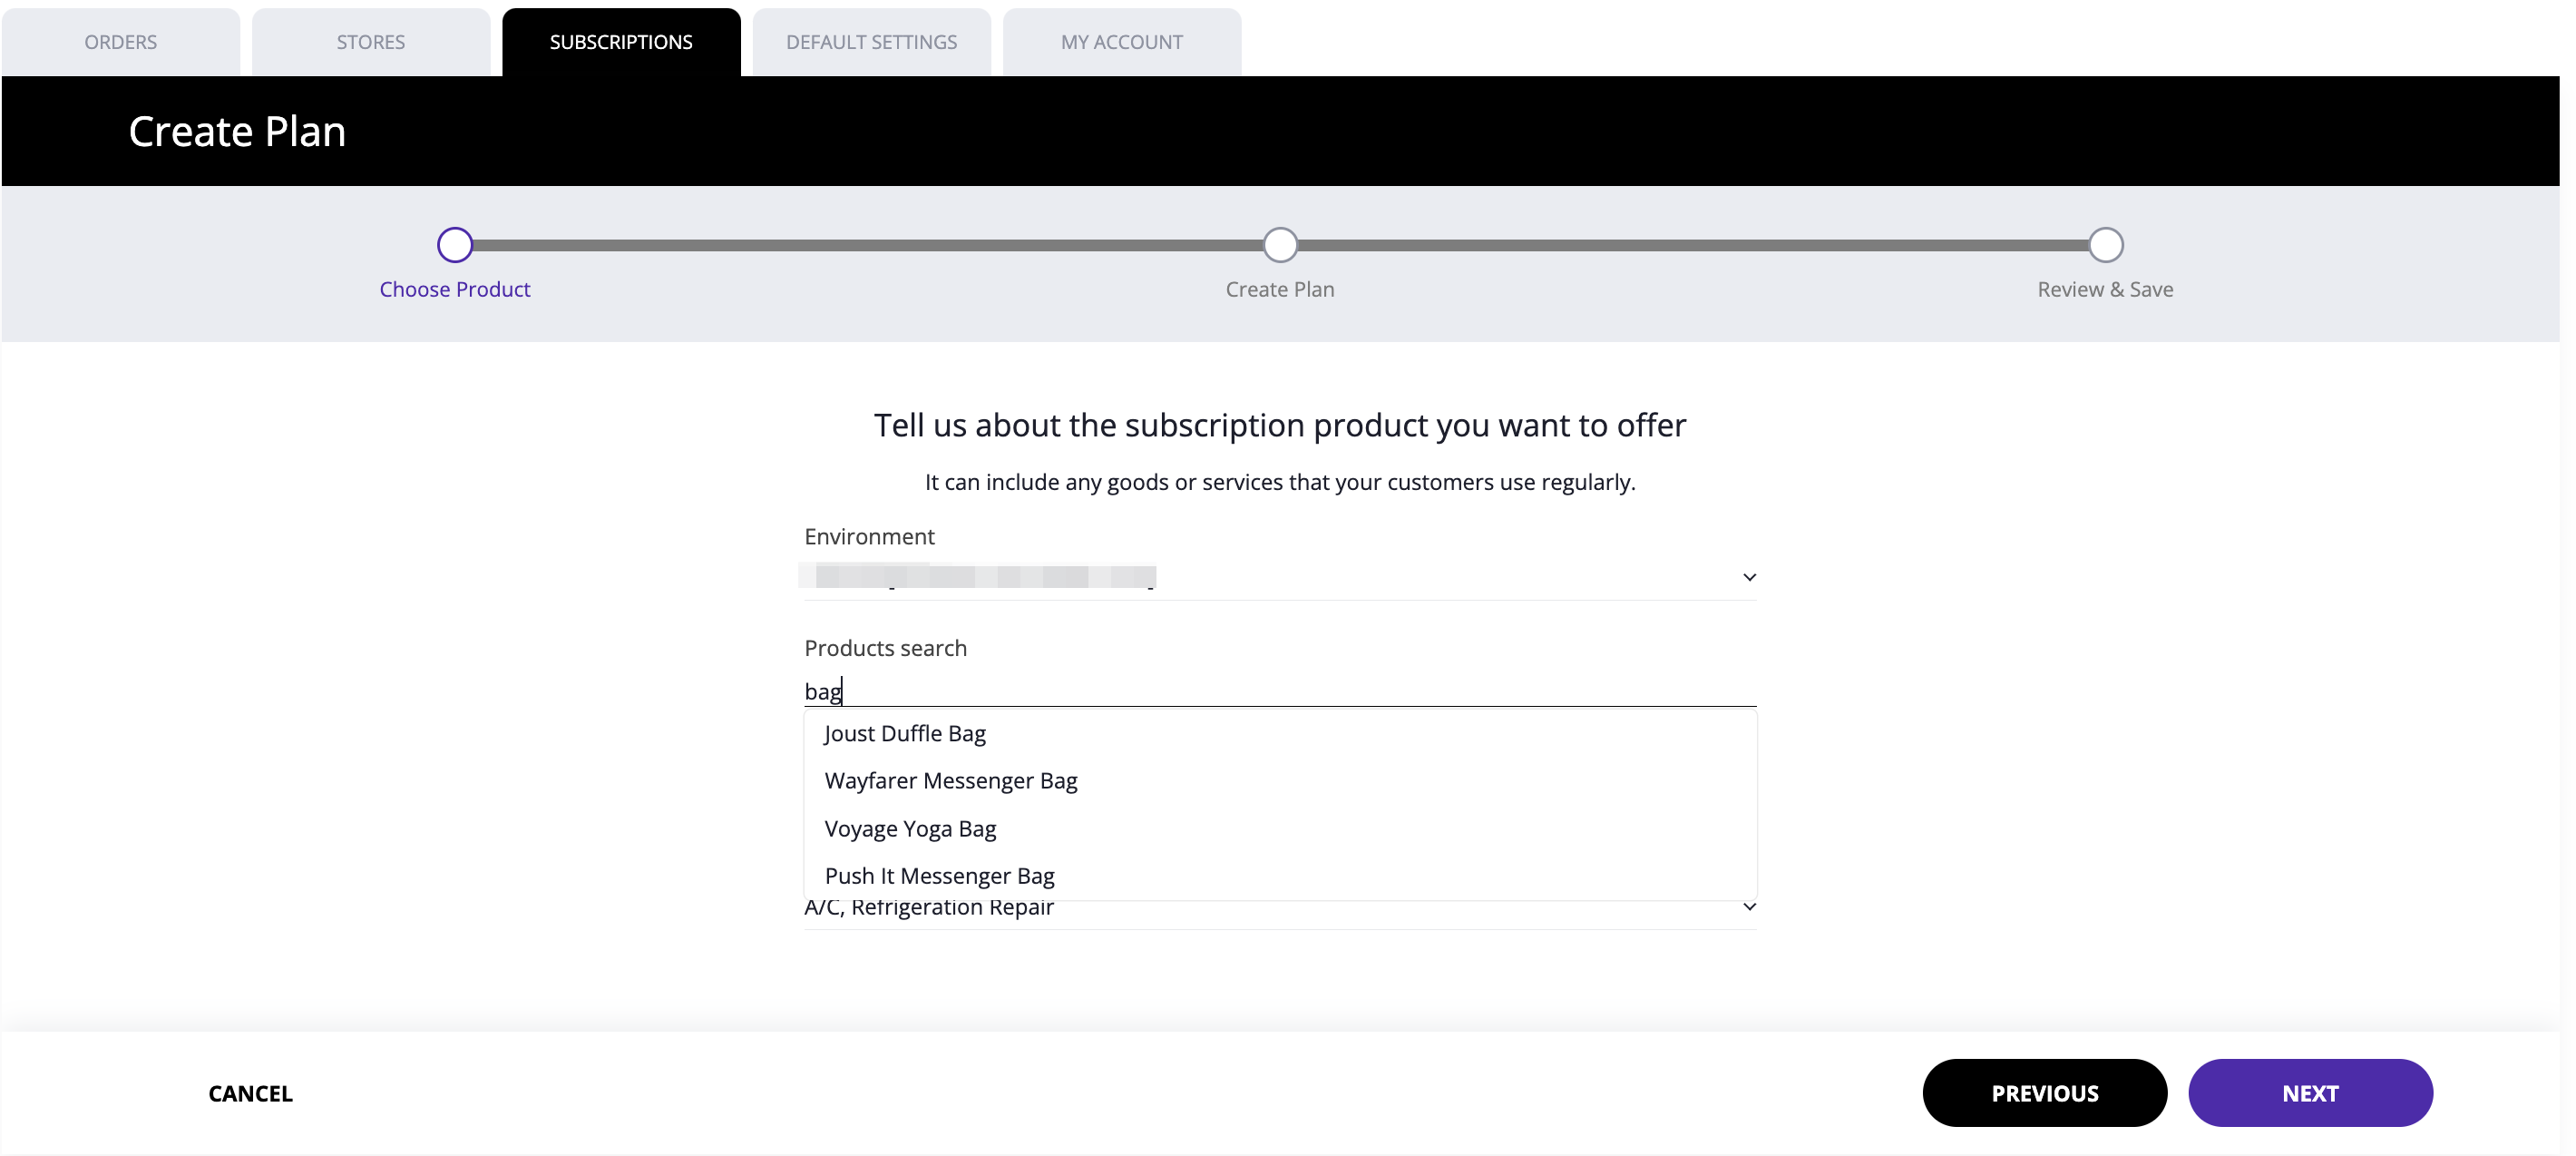
- Click FROM ECOMMERCE PLATFORM and select the product from your platform.
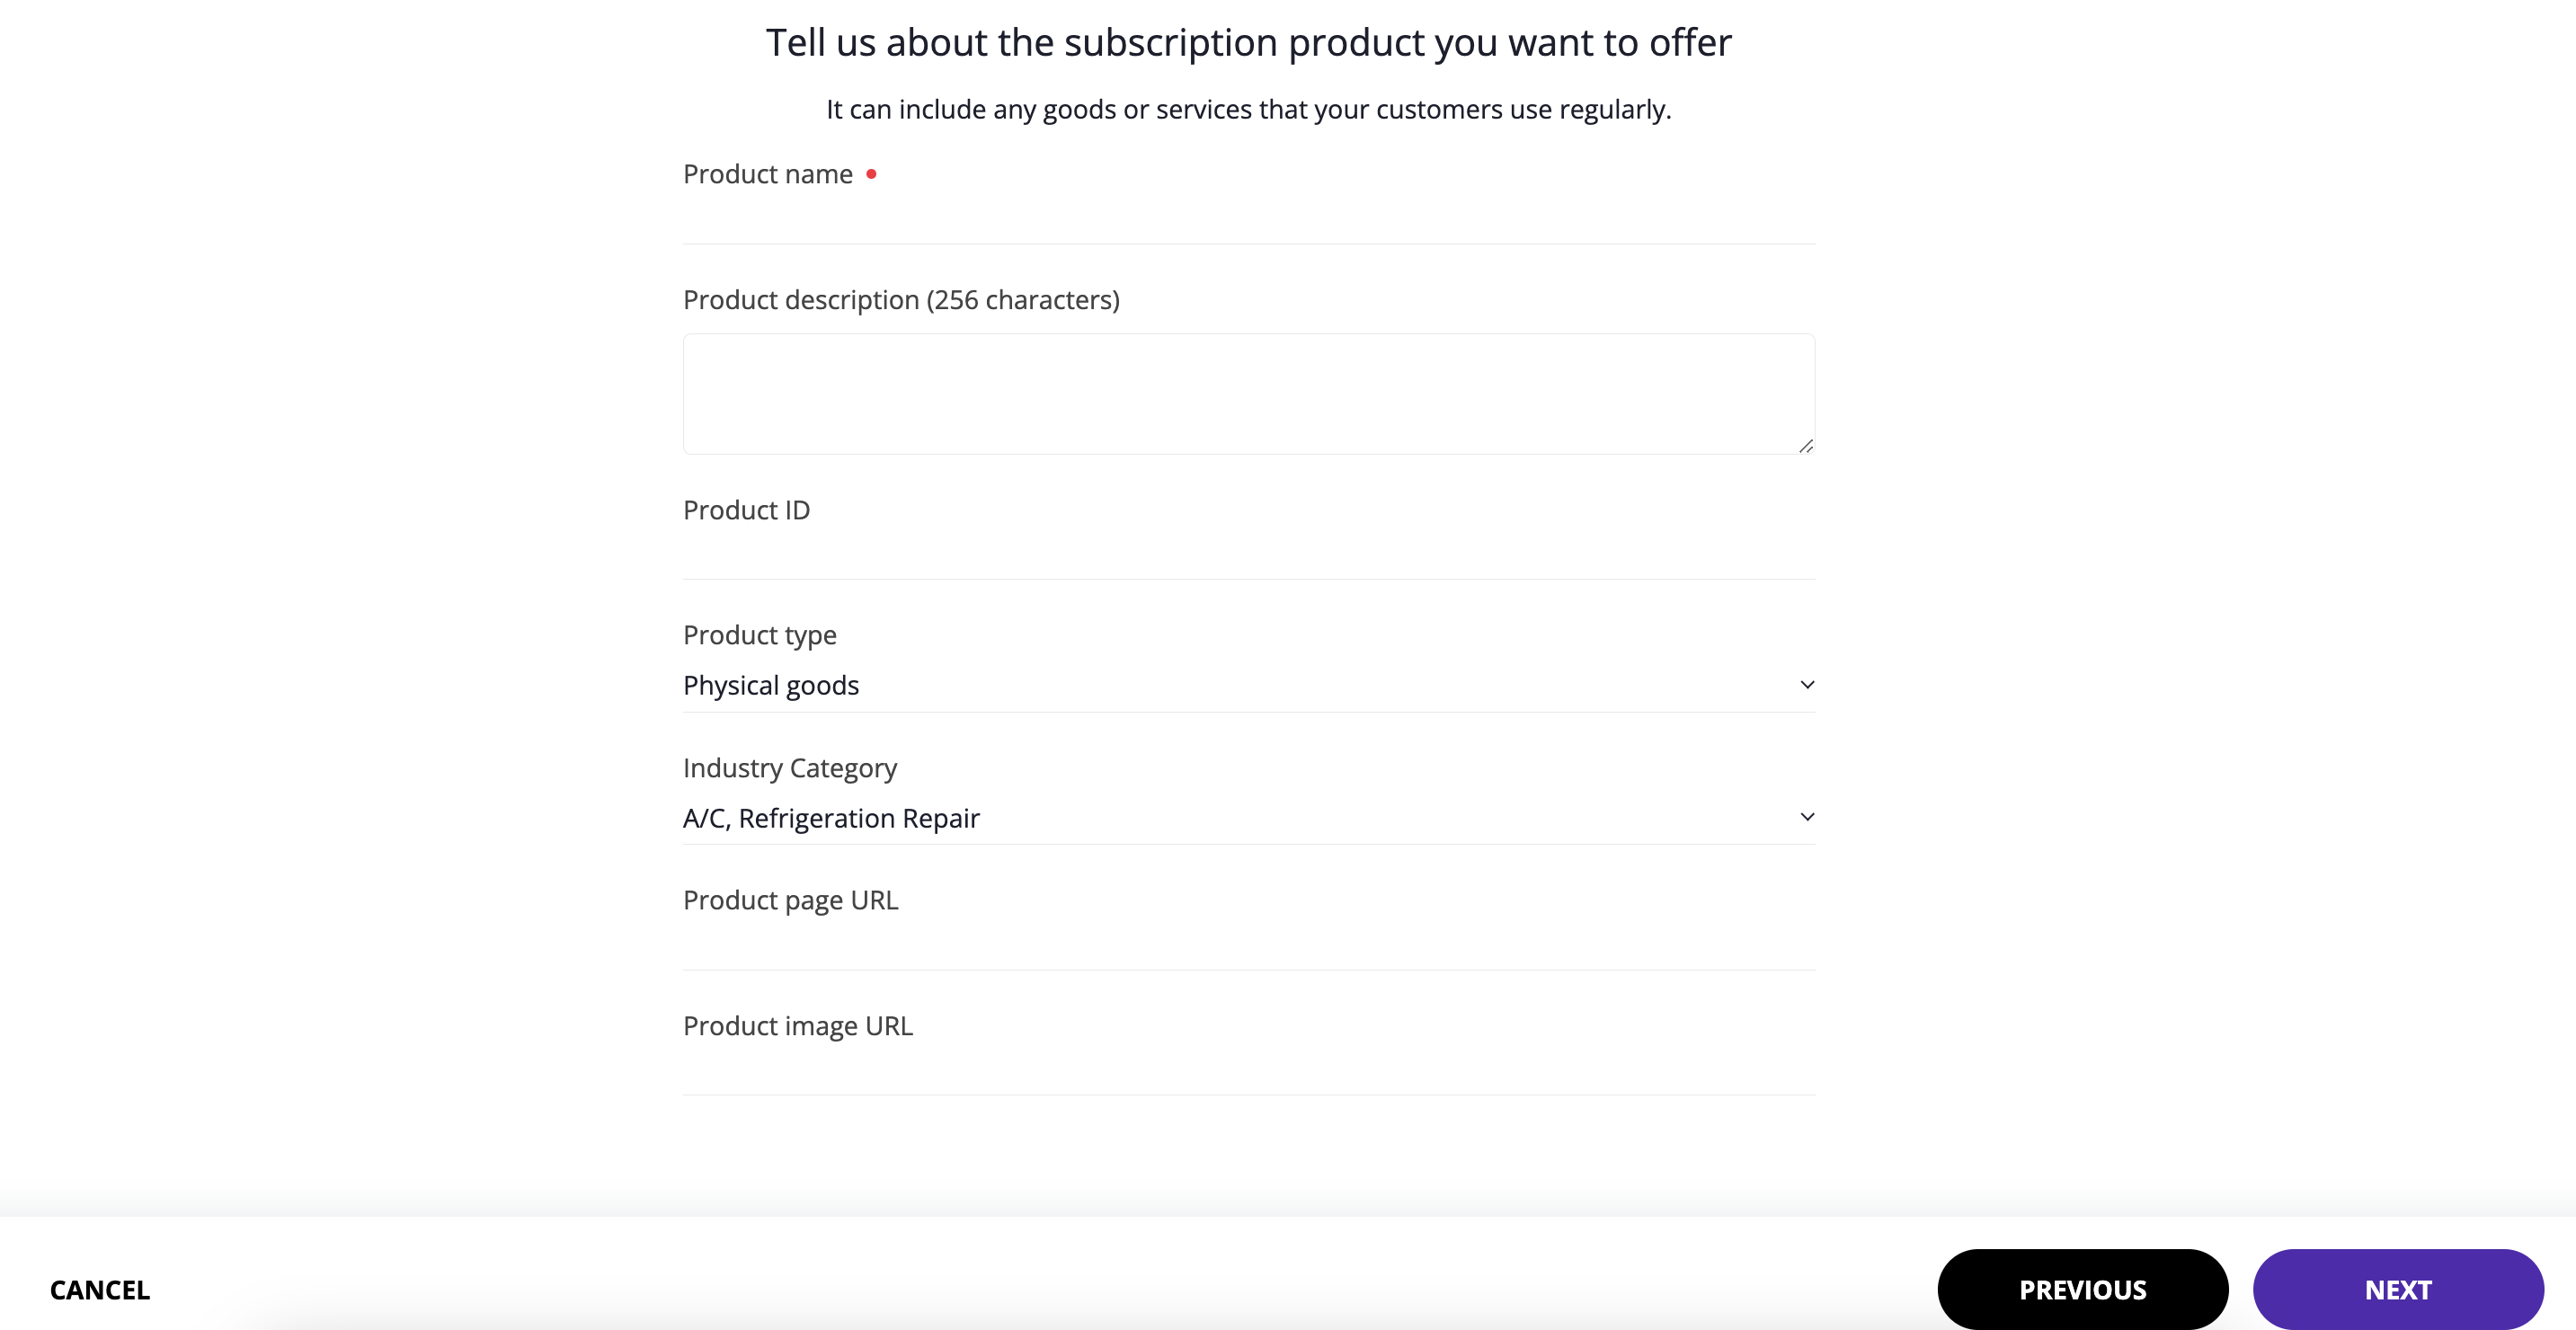
Step 4: Enter the product name and fill in the description followed by the unique product ID.
- Next, you need to choose from the list of product types:
- Physical Goods
- Digital Goods
- Services
2. Now, enter the category of the industry that suits your business. For instance, here we have chosen the VOD channel, so the industry would be media and entertainment. Also, add the Product page URL
and Product image URL.
3. Click Next.
Step 4: Now, select your pricing plan and click Next.
and Product image URL.
3. Click Next.
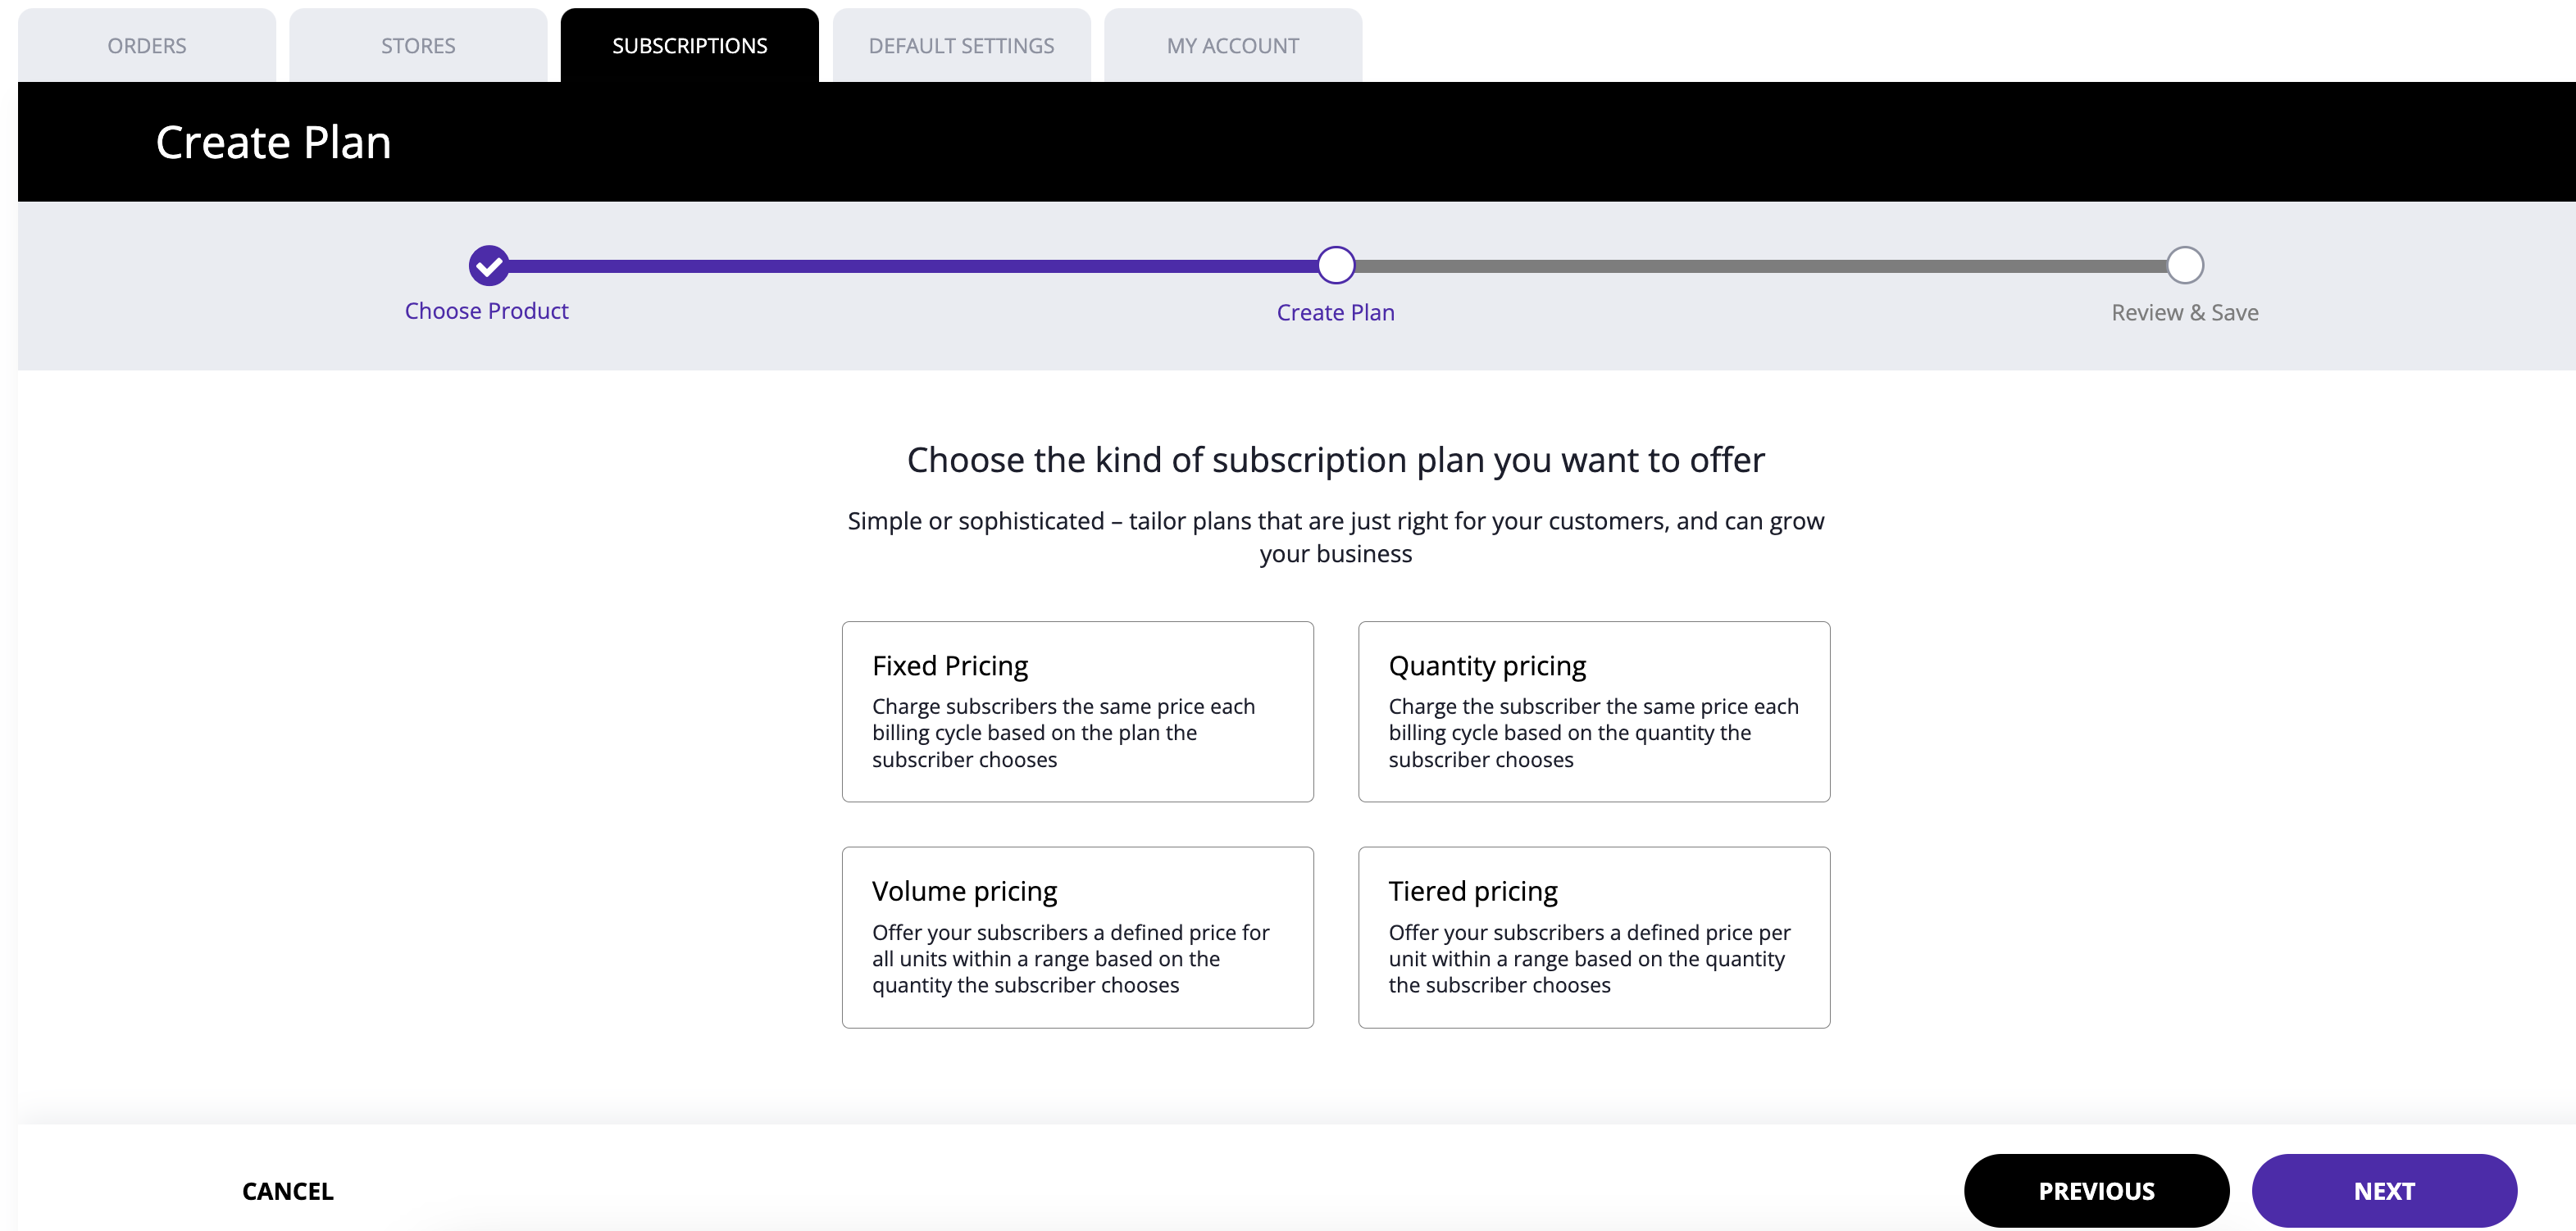
Step 4: Now, select your pricing plan and click Next.
- Fixed Pricing: Charge subscribers the same price each billing cycle based on the plan the subscriber chooses.
- Quantity Pricing: Charge the subscriber the same price each billing cycle based on the quantity the subscriber chooses.
- Volume Pricing: Offer your subscribers a defined price for all units within a range based on the quantity the subscriber chooses.
- Tiered Pricing: Offer your subscribers a defined price per unit within a range based on the quantity the subscriber chooses
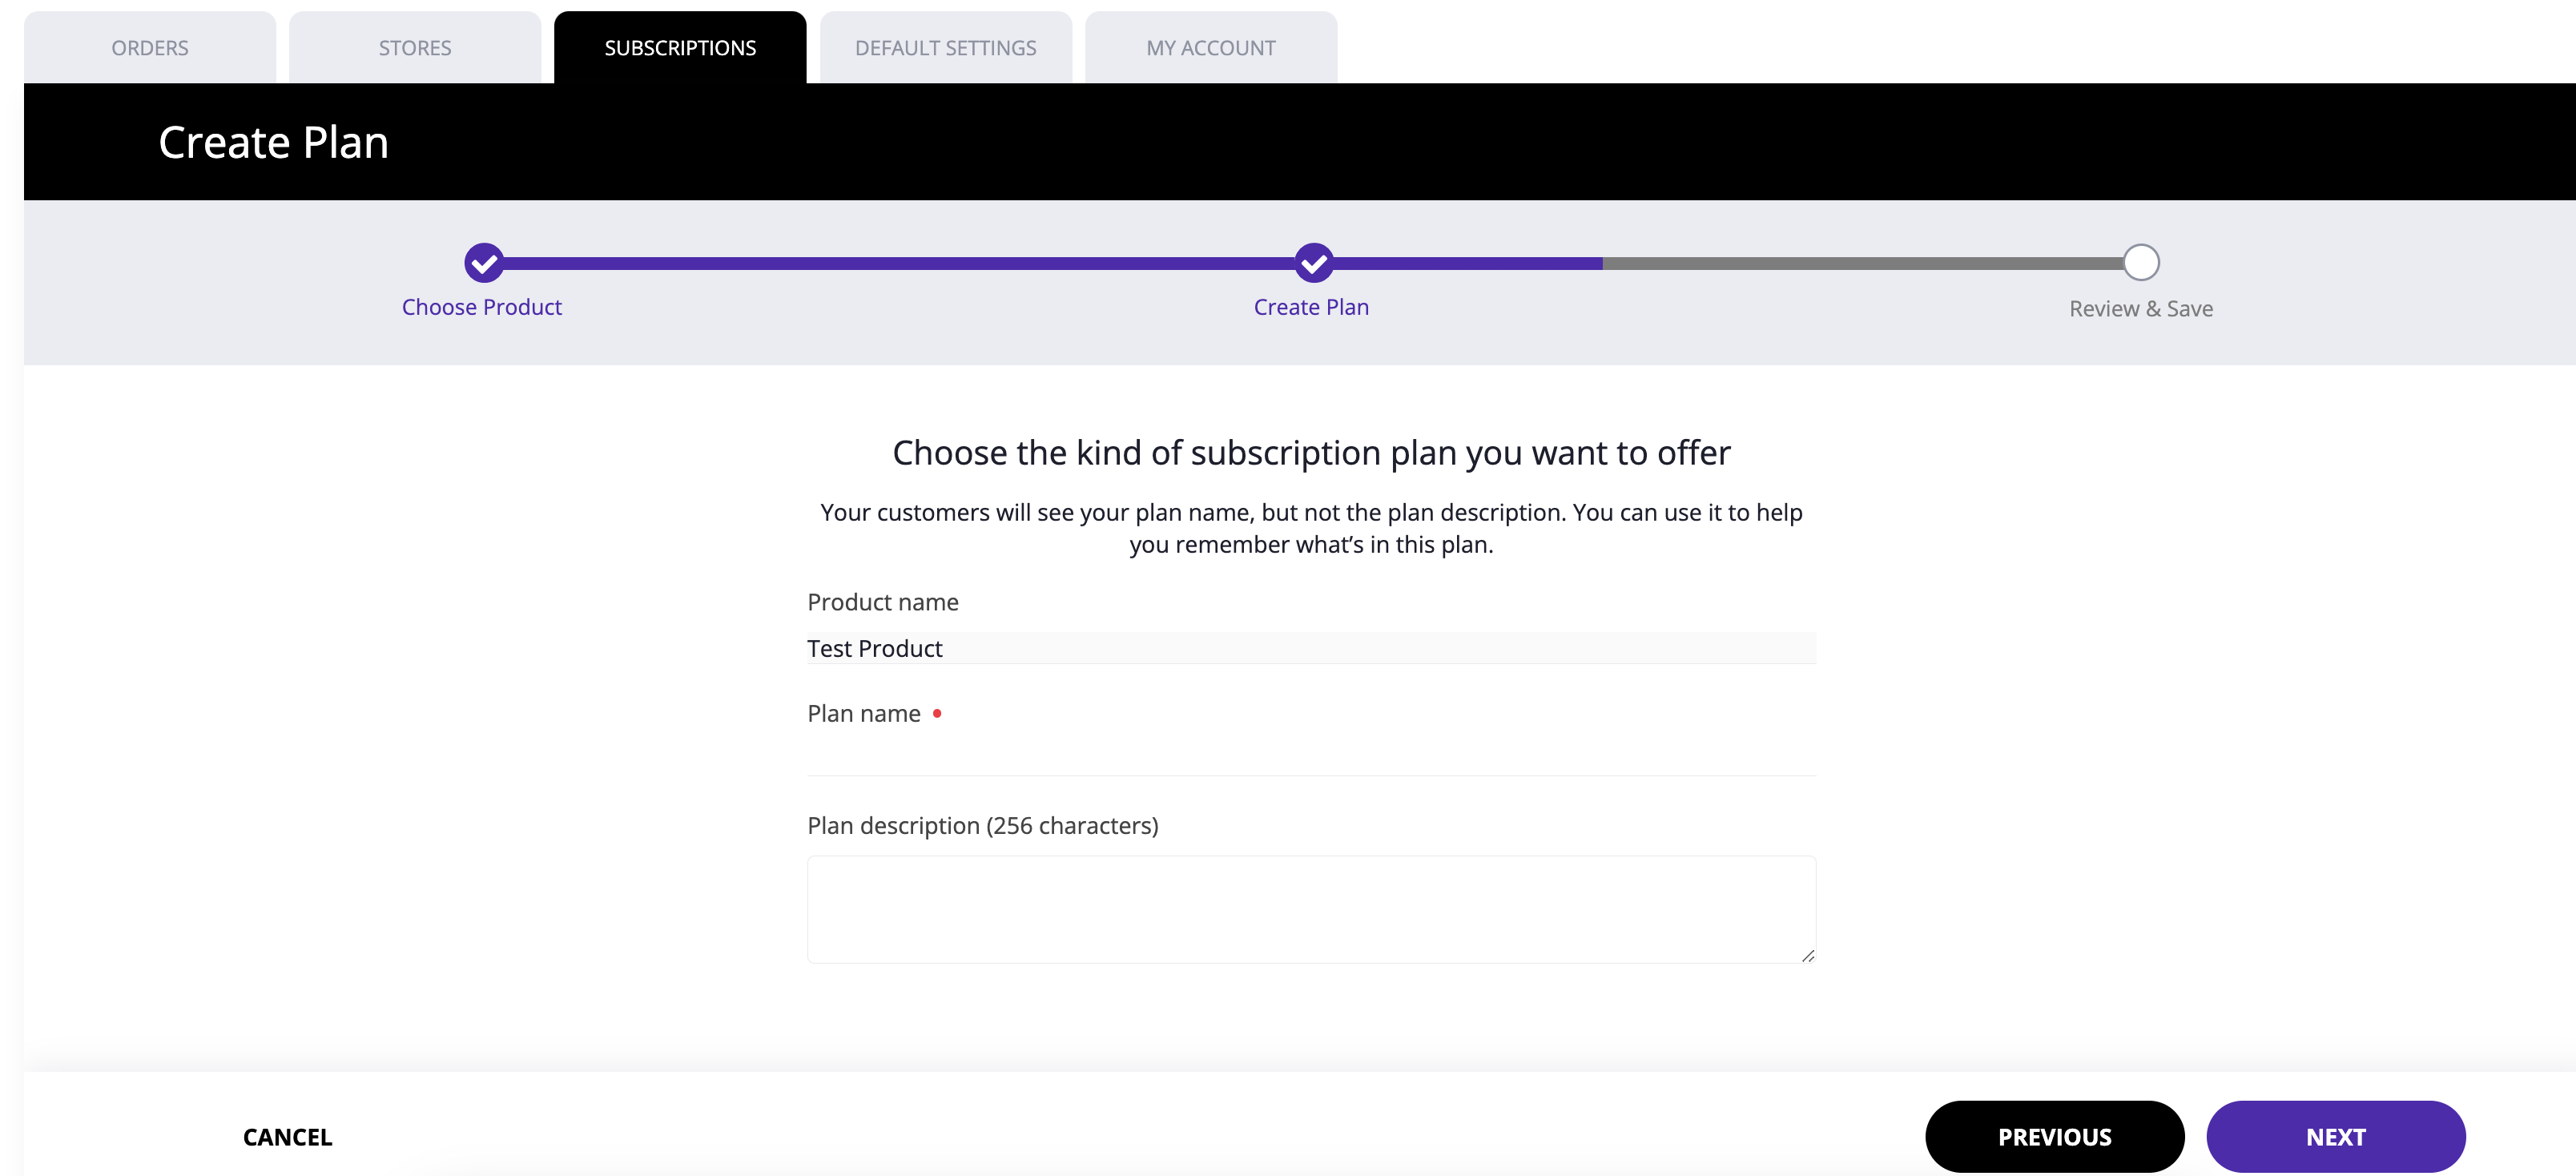
Step 5. Enter the subscription plan information.
- Add a unique name to the plan, such Basic, Premium, High-Rated, etc.
- Add a few details about the plan
- Click next.
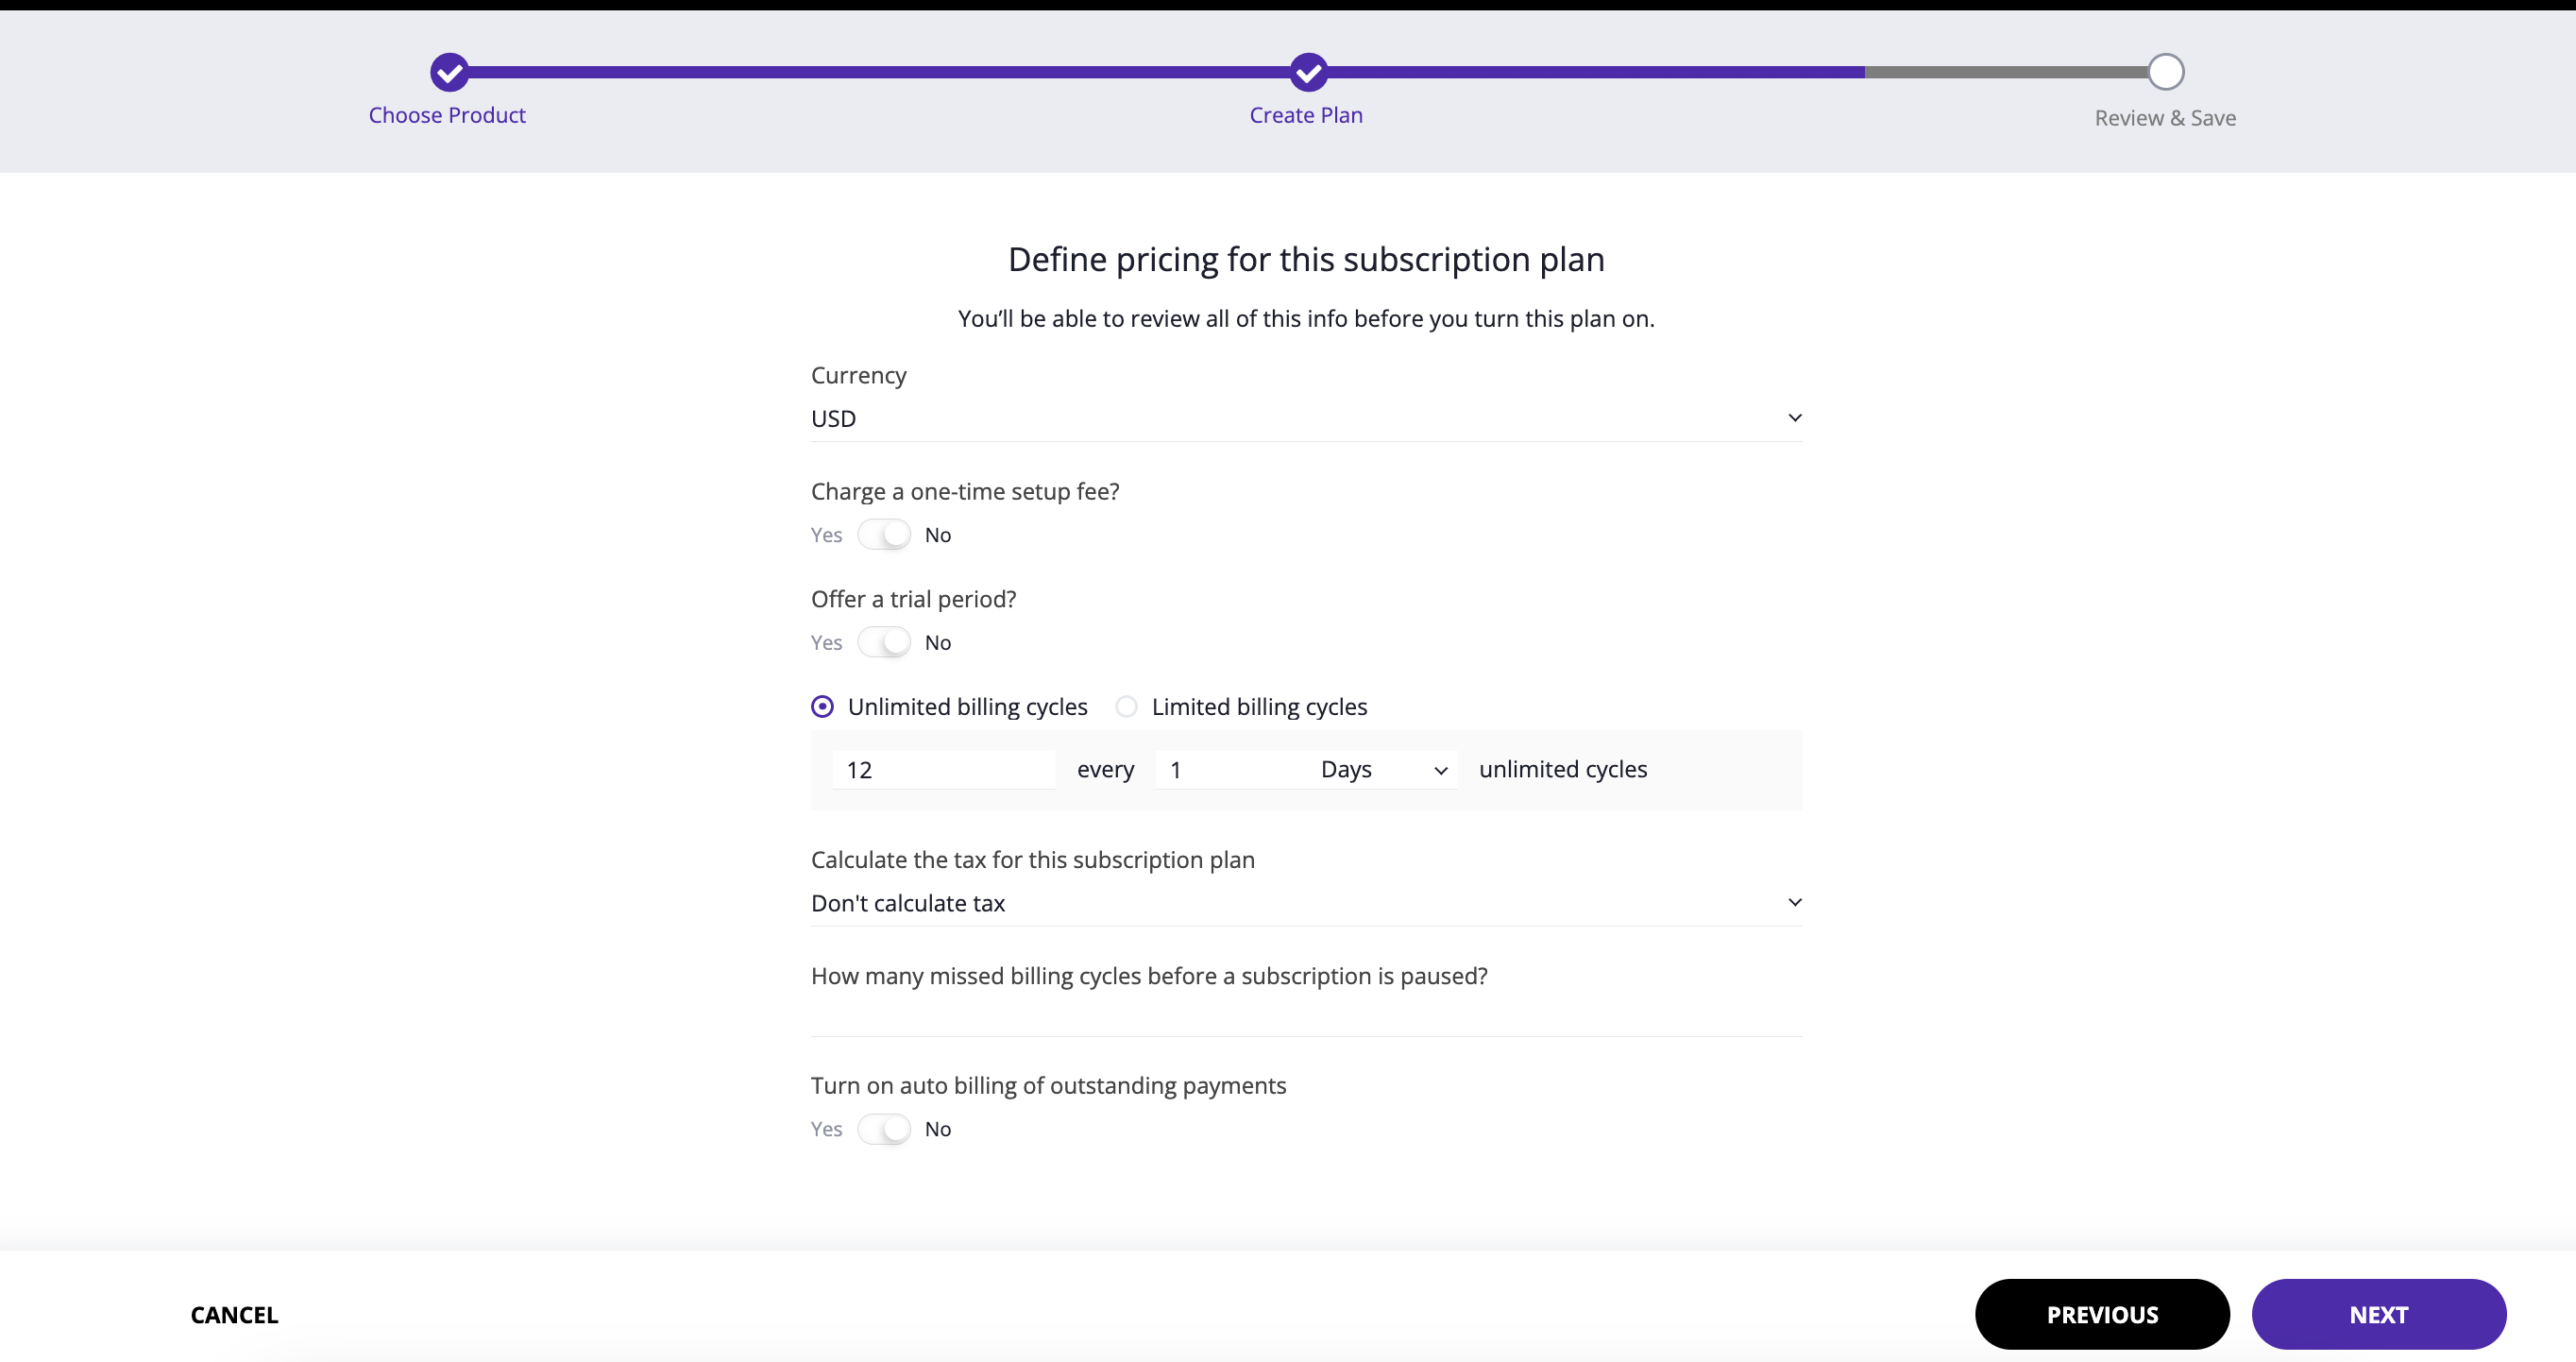
Step 6. You are almost done. You just need to configure your pricing norms:
- Enter the currency
- Offer a trial period or have the plan start now
- Select if there is a one-time setup fee (Note: this is not mandatory)
- Choose your billing cycle
- Pick the tax calculation method and enter the rate at which the same will be charged
- Choose the number of billing cycles a customer can miss before the subscription is paused
- Turn on auto billing for outstanding payments if you want
- Click Next
Step 7: Confirm the details and click on TURN PLAN ON to get ahead with your subscriptions.

Step 8: Copy the code and add it to your website or share it with your developer.
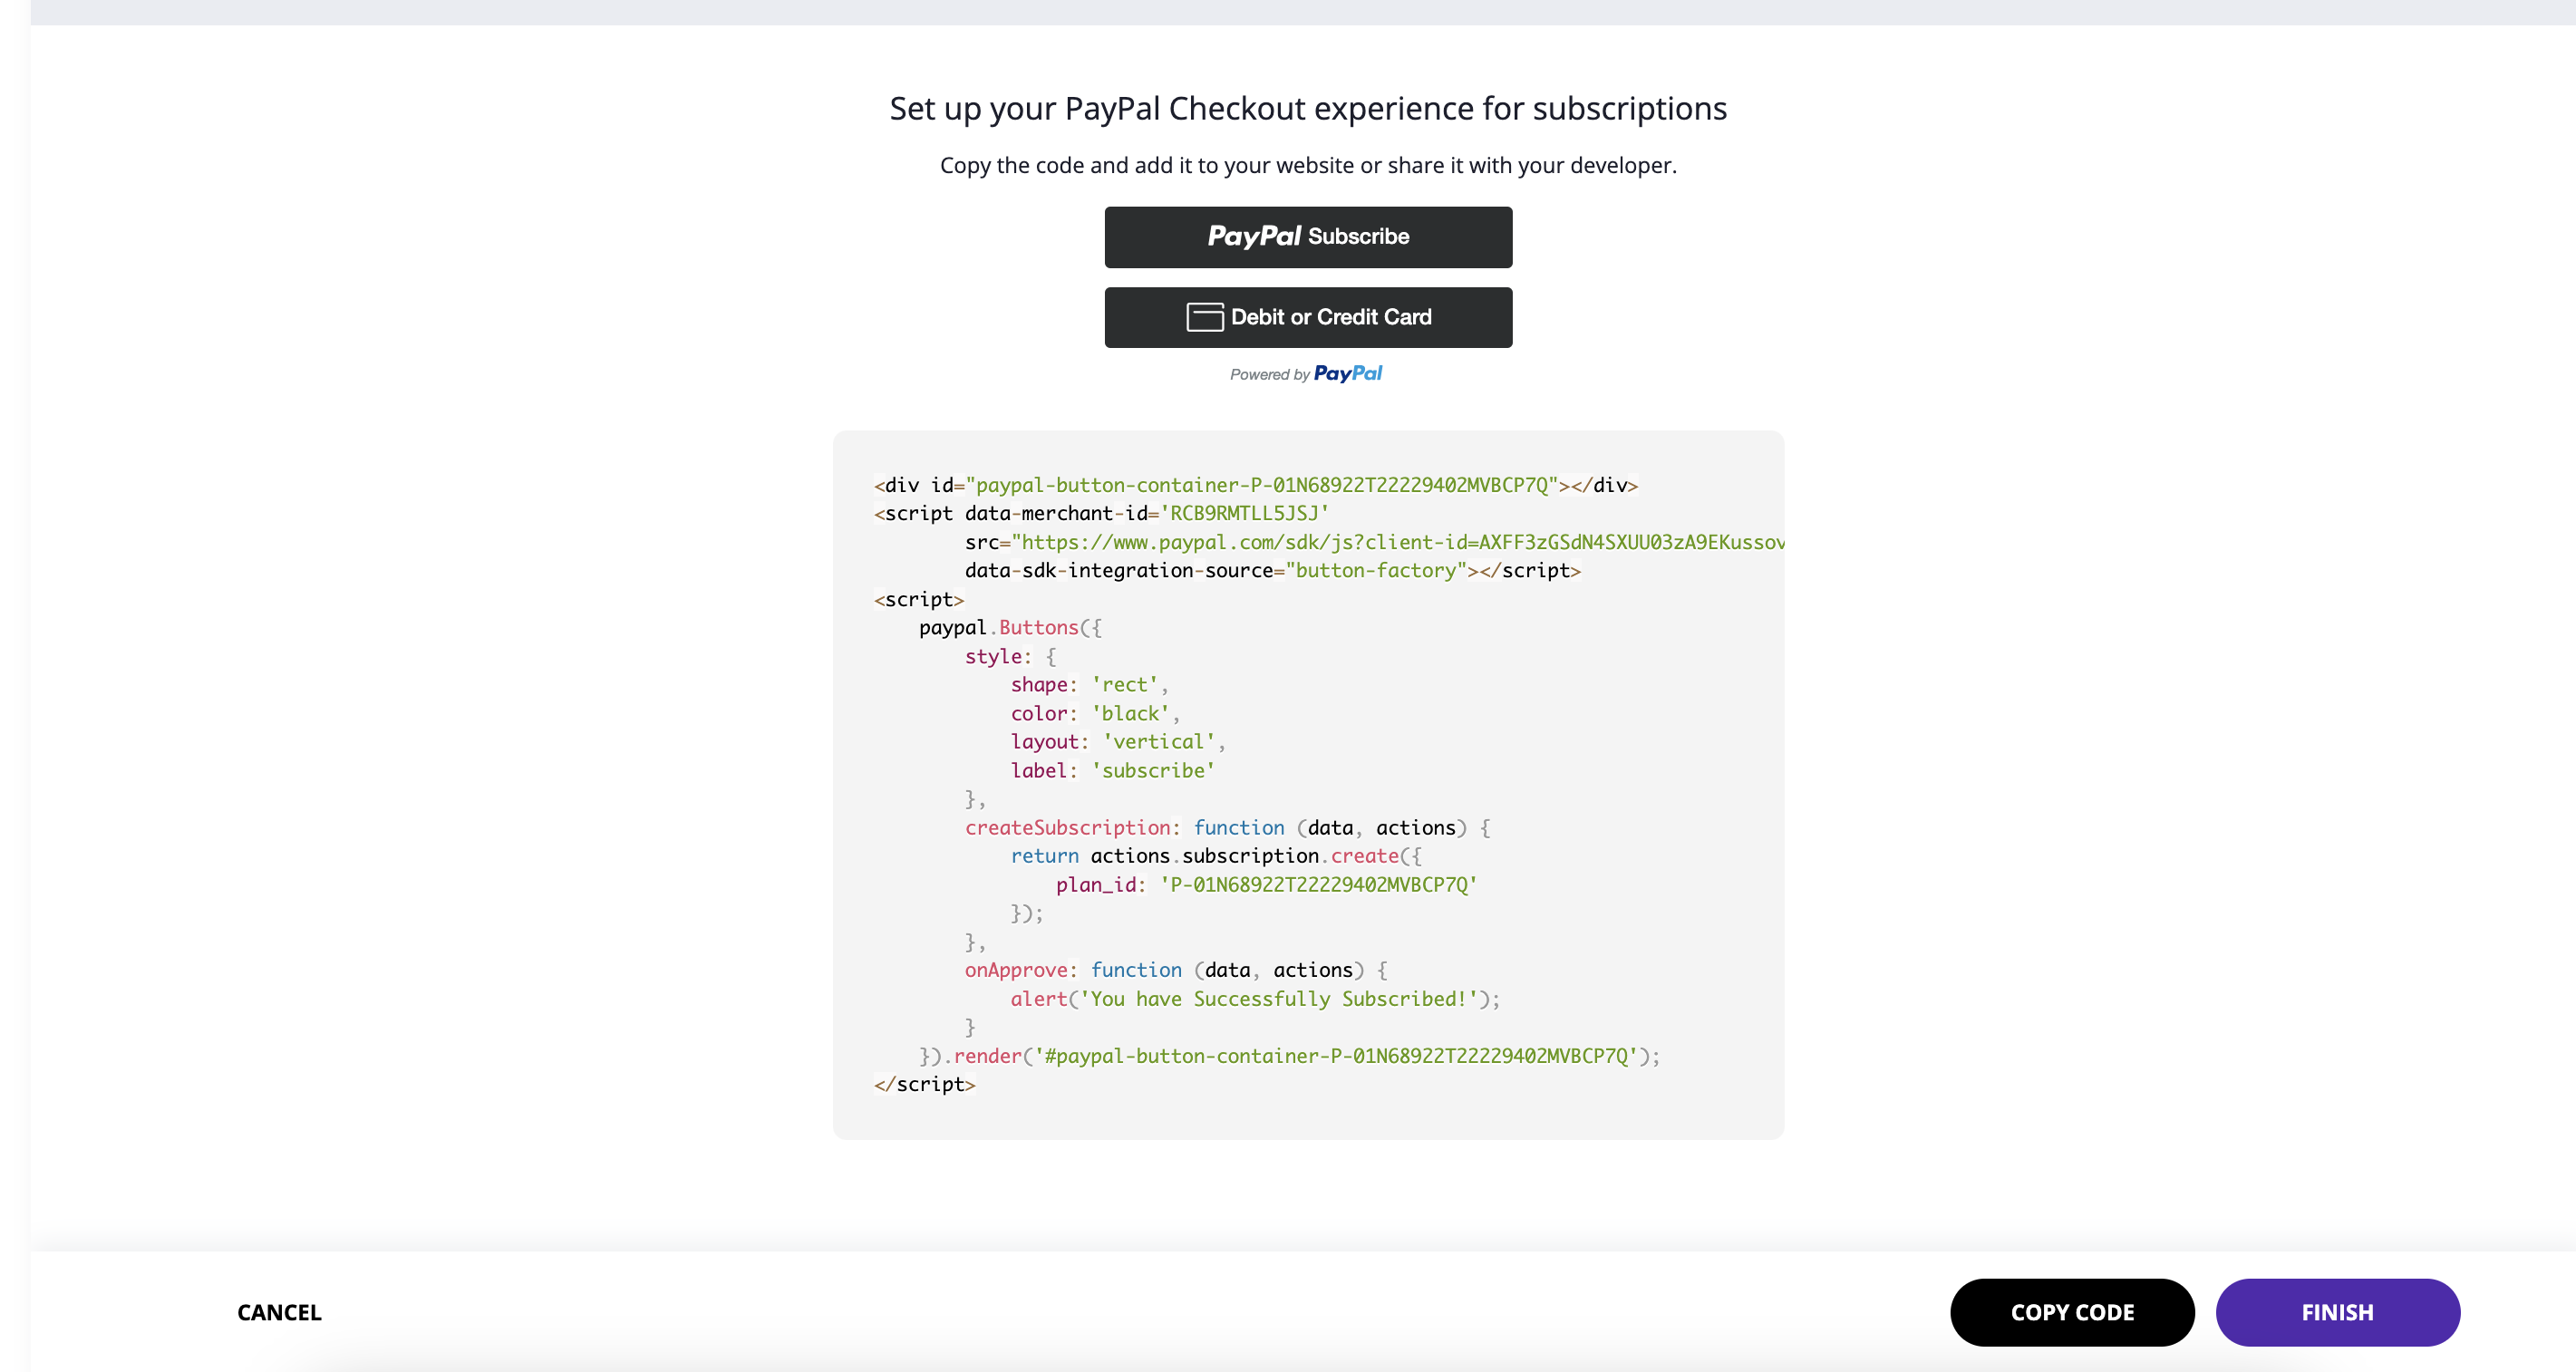
You will see the created plan in the grid after saving your subscription. Here you can to see the details of your subscription plan, turn it off, and copy the code for your plan.